
Creating the RemoteTx SD card
The Raspberry Pi at your station runs from a micro SD card holding the RemoteTx software. This page shows how to make that card on a Windows PC with balenaEtcher, add your station's remotetx.conf file, and get the Pi online.
It takes about 15 minutes, most of it waiting for the image to download and write.
What you need#
| Item | Notes |
|---|---|
| Micro SD card | 16 GB or larger. Everything on it is erased. |
| Windows PC with an SD card slot or USB card reader | |
| balenaEtcher | Free, from etcher.balena.io. Install it first. |
Your remotetx.conf file | Sent to you by RemoteTx. It identifies your station; the Pi won't connect without it. |
| Raspberry Pi, power supply and an Ethernet cable | The Pi plugs into your Internet router. |
The current RemoteTx image is v2.1.22. Its address, which you paste into balenaEtcher in step 3:
https://remotetx.s3.us-west-1.amazonaws.com/rtx-pi-images/rtx-2.1.22bS.bin-2025-12-04-raspios-trixie-arm64-lite.img.zipUse the Copy button on the box above (hover over it), or triple-click the address to select it.
1. Write the image to the card#
Insert the micro SD card into your PC.
Open balenaEtcher and choose Flash from URL.
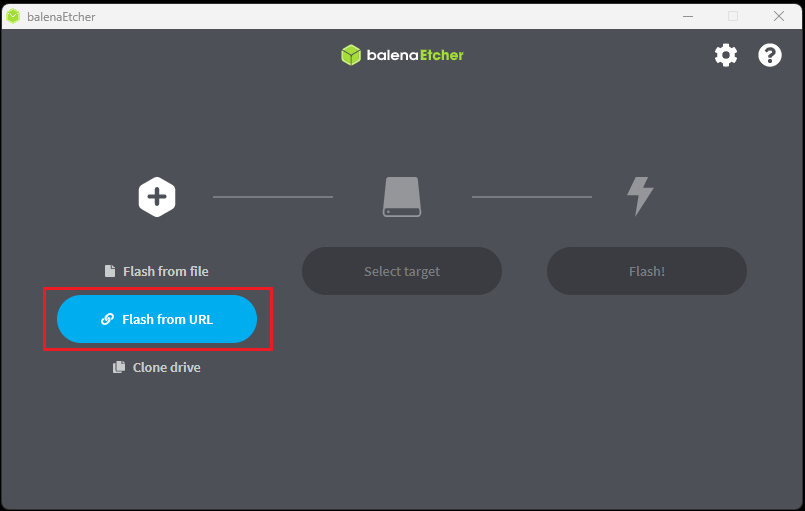
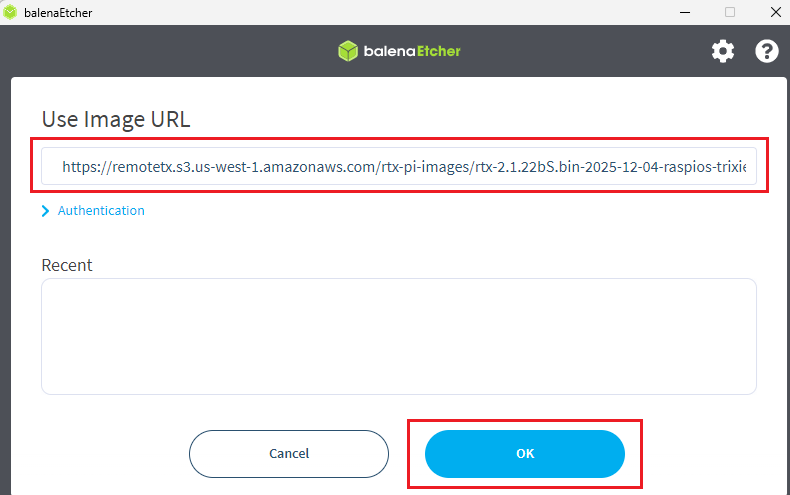
Paste the image address (above) into the Use Image URL field, and click OK.
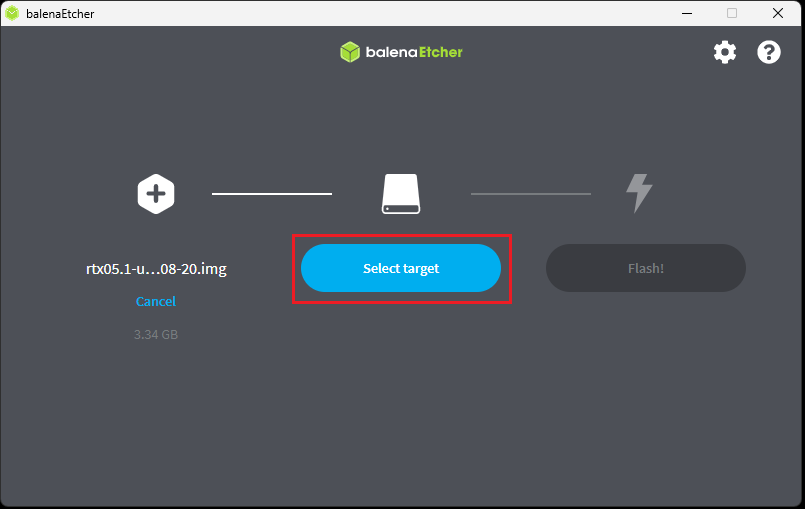
Click Select target.
Tick the box next to your SD card and click Select.
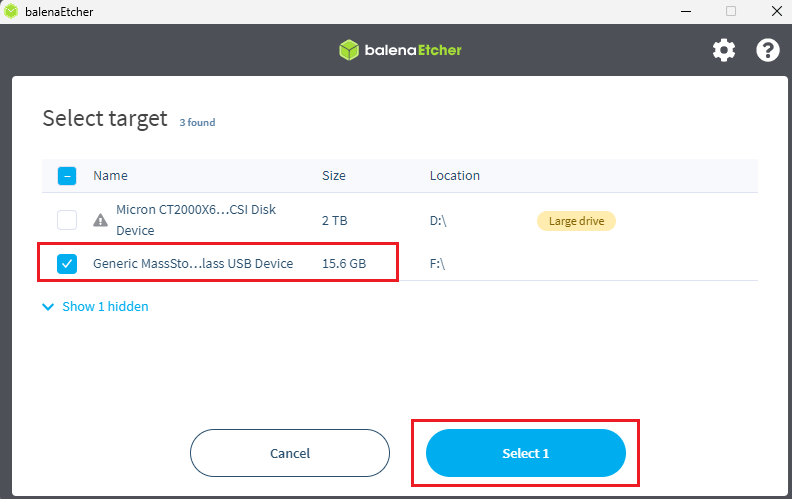 Warning
Check the size and name carefully. Choosing the wrong drive erases it. The SD card is usually the small USB or "Mass Storage" device, not your PC's main disk.
Click Flash!.
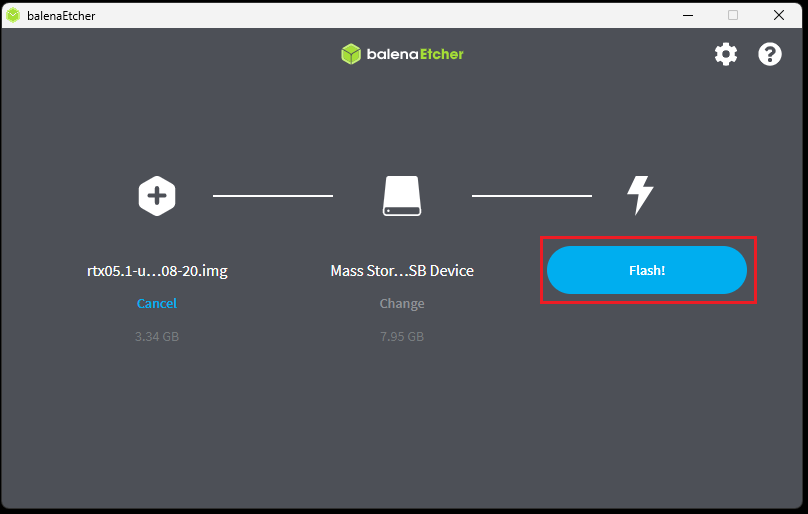
Windows asks whether to allow the app to make changes. Click Yes.
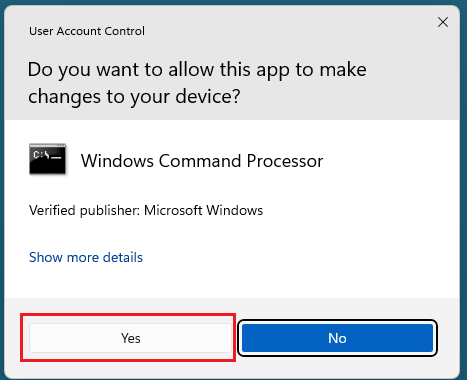
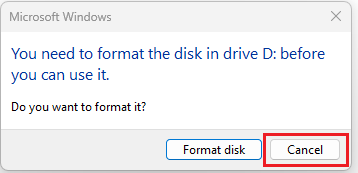
If Windows asks "You need to format the disk in drive D: before you can use it", click Cancel. It does not need to be pre-formatted.
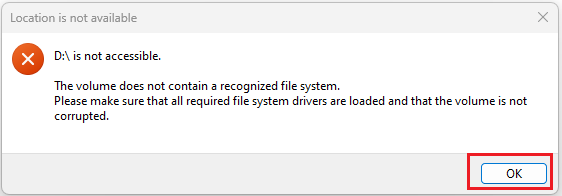
If you see "Location is not available", click OK. It's harmless.
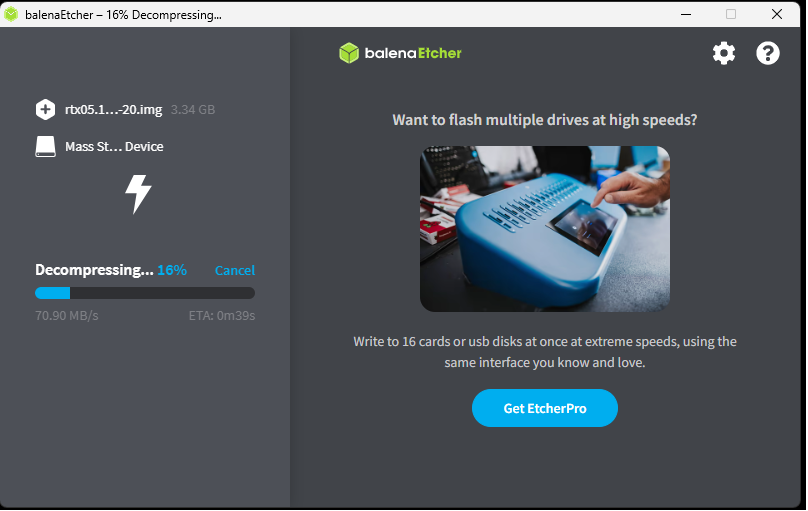
Decompressing: balenaEtcher downloads and unpacks the image. This can take several minutes, depending on your Internet speed.
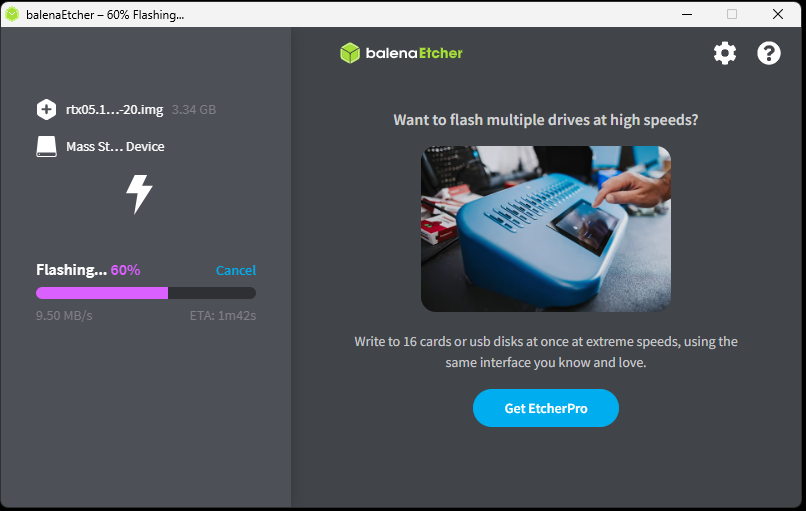
Flashing: the image is written to the card.
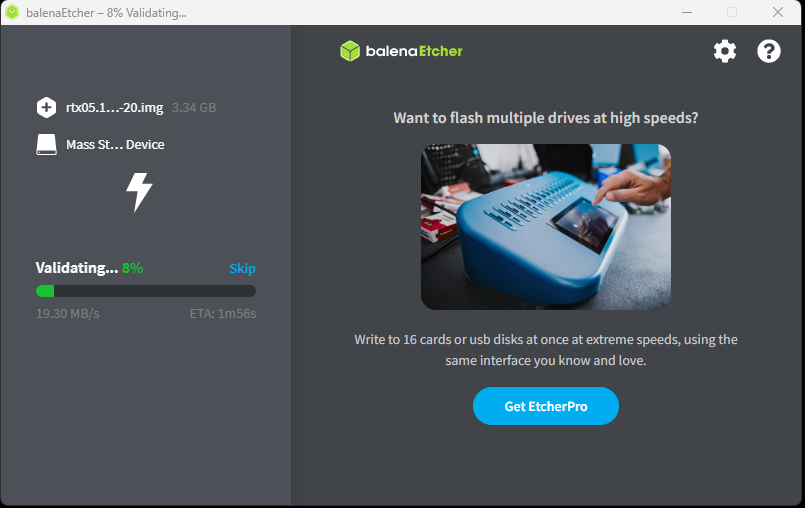
Validating: the card is read back and checked.
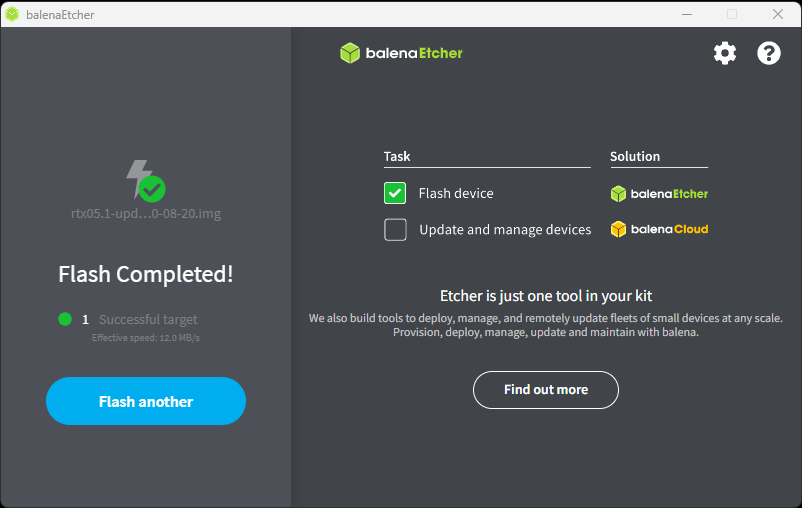
When it finishes you see Flash Completed! Close balenaEtcher.
2. Add your remotetx.conf file#
Remove the SD card from your PC, then insert it again so Windows re-mounts it.
Open File Explorer and select the SD card. It usually appears as bootfs (D:), or boot (D:) as in the picture (the drive letter may differ). Windows may open it by itself after a few seconds.
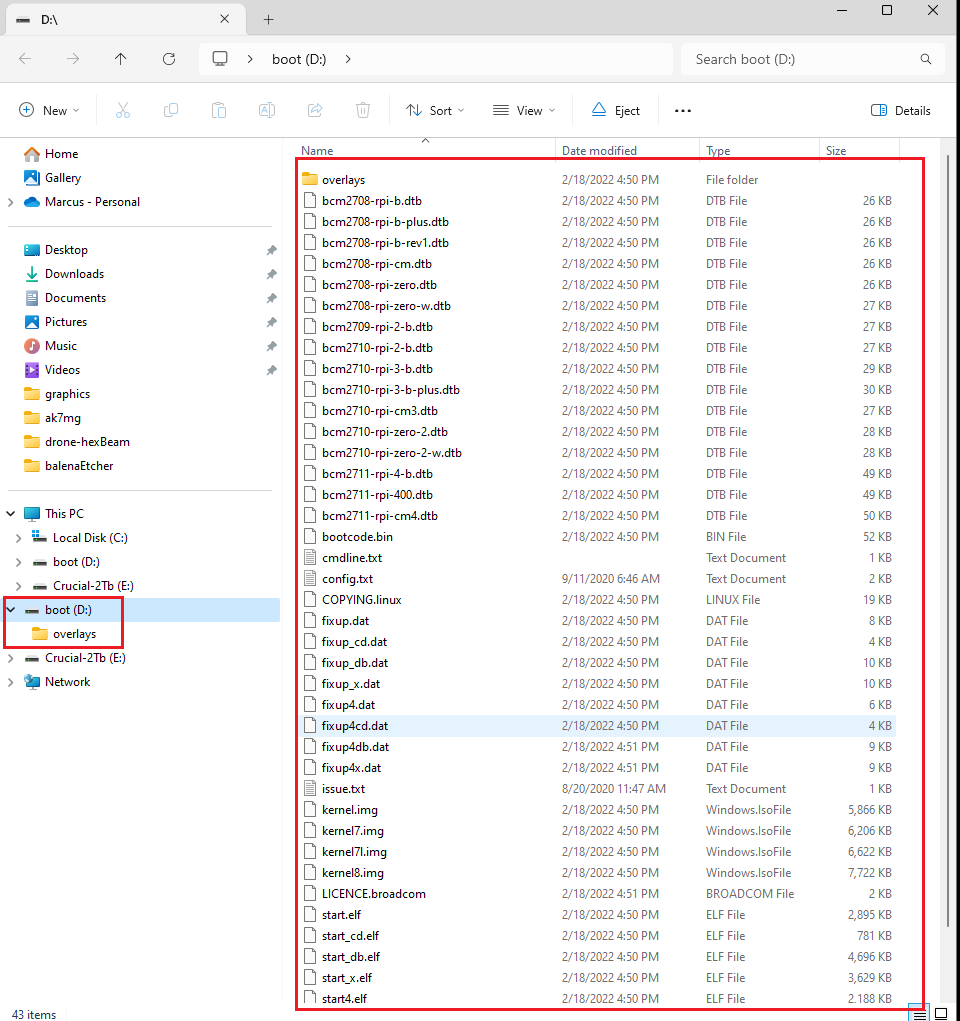
In a second File Explorer window, open your Downloads folder (or wherever you saved
remotetx.conf), and copy the file onto the bootfs drive. Dragging it from one window to the other works too.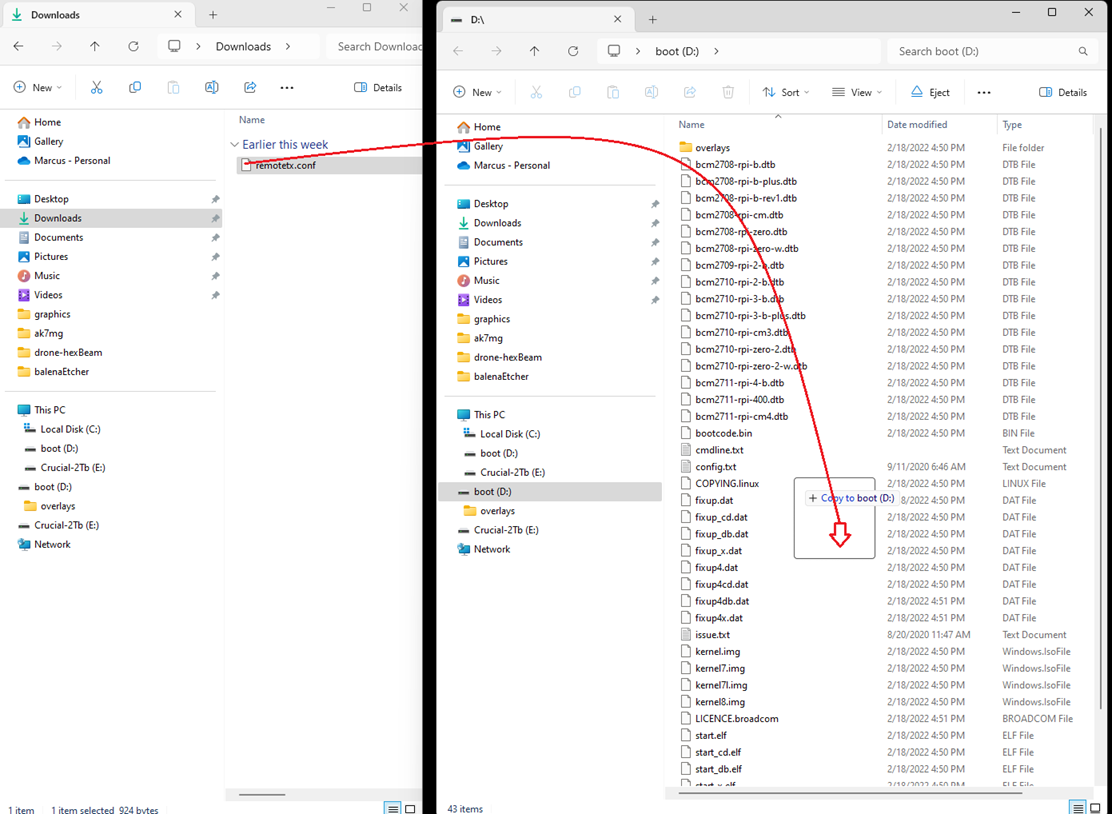 Important
The file must be named exactly
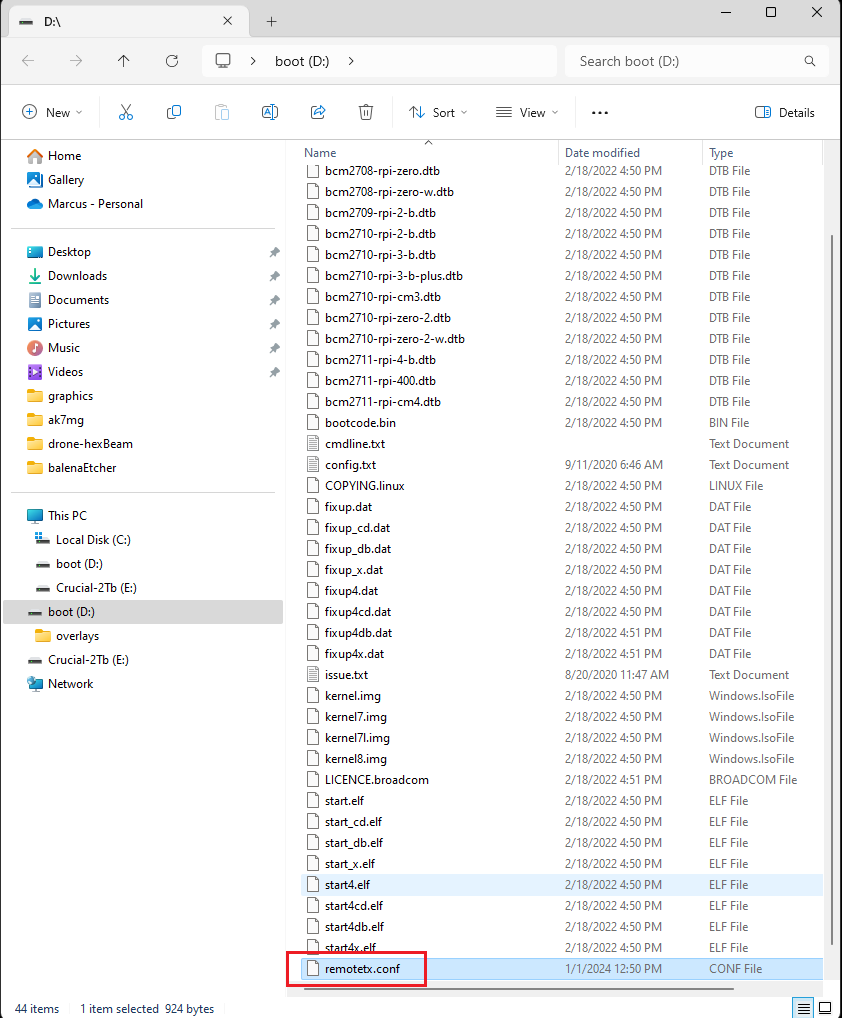
remotetx.conf. If you downloaded it more than once, your browser may have saved copies such asremotetx (1).conf. Those will not work: rename the file, or copy the right one.Check that remotetx.conf now appears near the bottom of the file list on the bootfs drive.
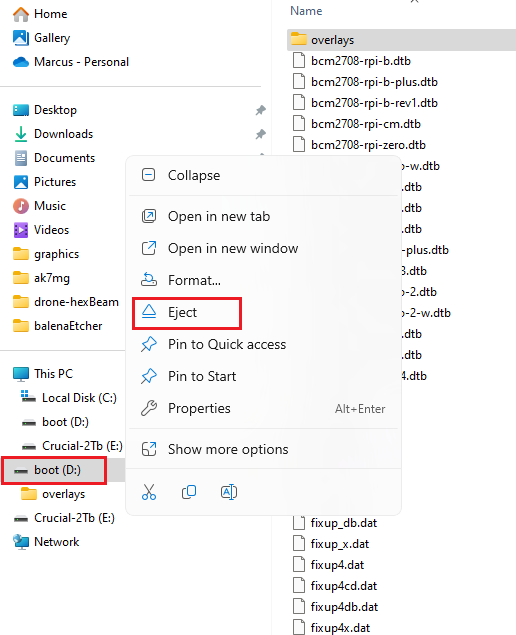
Right-click the bootfs drive and choose Eject, then remove the card.
The SD card is now ready.
3. Start the Pi#
- Put the SD card in the Raspberry Pi.
- Connect the Pi to your Internet router with an Ethernet cable.
- Connect your radio to the Pi with its USB cable. The Pi starts and goes online without it, but it's needed to control the radio. See the Radios guide for your radio.
- Power up the Pi and wait about 3 minutes. The first start can take a little longer.
4. Check that it's online#
In your browser, go to
https://<your-call-sign>.remotetx.netand log in with your call sign and password. (Make sure you type your callsign in lower case letters!)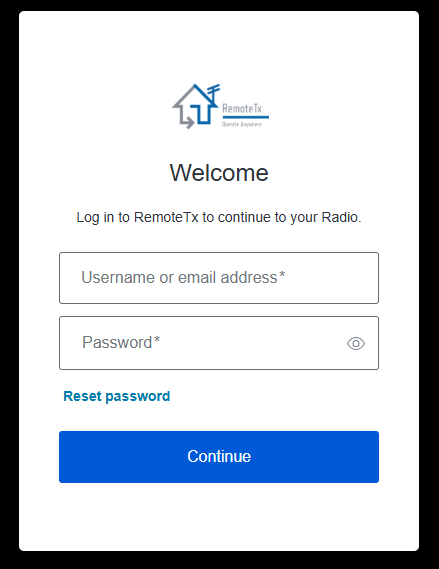
On the Setup tab, watch the Network (ms) indicator. It changes from Connecting… to a number that keeps updating: your connection's delay to the Pi, in milliseconds. The software version (e.g. 2.1.22) is shown at the bottom.
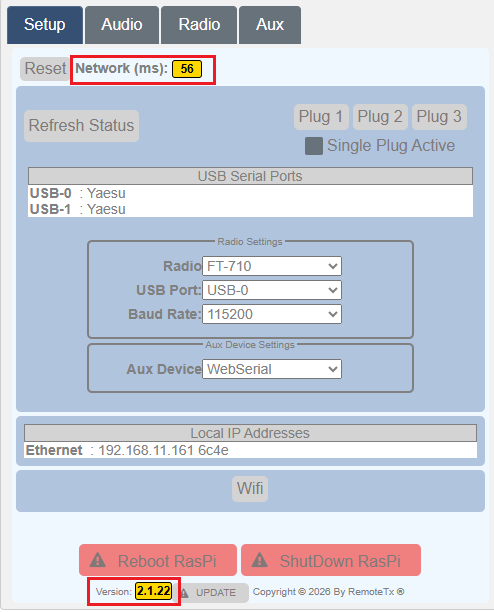
Your Pi is now online and connected to the RemoteTx network.
The UPDATE button on the Setup tab is always shown. It doesn't mean an update is waiting. You can click it at any time and wait a few seconds to see whether the version changes. Updates don't happen often.
If it doesn't connect#
If Network (ms) stays on Connecting…, the Pi isn't reaching the RemoteTx network. The two usual causes:
| Cause | Check |
|---|---|
| The Pi isn't online | Is the Ethernet cable firmly in the Pi and the router, with the port lights on? Give it the full 3 minutes after power-up. |
remotetx.conf is missing or misnamed | Put the card back in your PC and look on the bootfs drive. The file must be there, named exactly remotetx.conf. |
If the card was formatted by mistake during step 1, or the flash failed, simply start again from step 1: balenaEtcher rewrites the whole card.